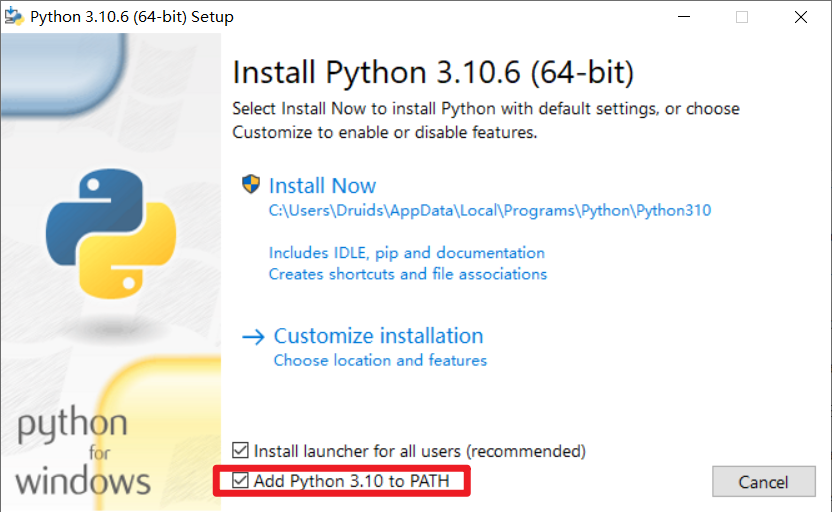
1.安装Python3.10.6
https://www.python.org/downloads/release/python-3106/
更高的版本似乎会出问题
安装时记得勾上Add Python3.10 to Path
2. 安装Git
3. 安装CUDA11.8
现在是6月份,pytorch支持到CUDA11.8,所以下载的这个版本
https://developer.nvidia.com/cuda-11-8-0-download-archive
4. 安装 Stable Diffusion web UI
在你要安装Stable Diffusion web UI的文件夹,右键点击Git Bash Here
git clone https://github.com/AUTOMATIC1111/stable-diffusion-webui.git
复制上面的命令,粘贴到Git Bash 中去回车,等待下载完成。
5. 下载模型(Check Point)
或者在这里找一个你喜欢的Checkpoint下载
https://huggingface.co/runwayml/stable-diffusion-v1-5
6. 导入模型
将第5步下载的模型复制粘贴到 Stable Diffusion Web UI下的路径:
stable-diffusion-webui\models\Stable-diffusion
7. 安装pytorch
在stable-diffusion-webui\venv\scripts目录中,运行 activate.bat,再输入以下命令然后回车:
pip3 install torch torchvision torchaudio --index-url https://download.pytorch.org/whl/cu1188. 运行
双击运行“webui.bat”,
首次运行会下载pytorch,2点多G,需要等一段时间。
如果下载失败,再次安装可能会报错,尝试以下方法:
在venv\Scripts\文件下右键点击Git bash here,然后按顺序输入以下命令:
./activate
pip uninstall torch torchvision torchaudio
pip cache purge
再次双击运行“webui.bat”重新下载,直到成功
在网页上打开 http://127.0.0.1:7860 ,可以玩耍了;